


In 2021, Exoscale introduced their own K8s hosting and management ecosystem, SKS. Following our latest article (the installation of Exoscale compute instances via terraform), let's dive into the SKS part and install a K8s cluster running, with Longhorn volumes and Kasten backups on an S3 bucket.
SKS / Terraform
The first thing to do is the creation of the SKS cluster. Exoscale offers a Terraform API and that's what we've chosen to use, to have more control and flexibility on what we'll run. No need to waste too much time doing "clickops".
First, we'll create the following main.tf file. In addition to the cluster itself, we've added the network security groups / rules.
# Customizable parameters
locals {
  my_zone = "**"
}

# Existing resources (<-> data sources)
data "exoscale_security_group" "default" {
  name = "default"
}

resource "random_id" "prefix" {
  byte_length = 4
}

# Exoscale private network
resource "exoscale_private_network" "private_network" {
  zone = "YOURZONE"
  name = "YOURNETWORK"
  netmask  = "255.255.255.0"
  start_ip = "10.10.0.100"
  end_ip   = "10.10.0.150"
}

# Sample SKS cluster
resource "exoscale_sks_cluster" "my_sks_cluster" {
  zone = local.my_zone
  name = "my_sks_cluster"
  version = "1.26.10"

}

# (ad-hoc anti-affinity group)
resource "exoscale_anti_affinity_group" "my_sks_anti_affinity_group" {
  name = "my_sks_cluster"
}

# (ad-hoc security group)
resource "exoscale_security_group" "my_sks_security_group" {
  name = "my_sks_cluster"
}

resource "exoscale_security_group_rule" "api_https" {
  security_group_id = exoscale_security_group.my_sks_security_group.id
  description       = "API-Server access"
  type              = "INGRESS"
  protocol          = "TCP"
  start_port        = 443
  end_port          = 443
  # (public)
  cidr = "YOUR.PUBLIC.IP.ADDRESS/32"
}

resource "exoscale_security_group_rule" "kubelet" {
  security_group_id = exoscale_security_group.my_sks_security_group.id
  description       = "Kubelet"
  type              = "INGRESS"
  protocol          = "TCP"
  start_port        = 10250
  end_port          = 10250
  # (beetwen worker nodes only)
  user_security_group_id = exoscale_security_group.my_sks_security_group.id
}

resource "exoscale_security_group_rule" "calico_vxlan" {
  security_group_id = exoscale_security_group.my_sks_security_group.id
  description       = "VXLAN (Calico)"
  type              = "INGRESS"
  protocol          = "UDP"
  start_port        = 4789
  end_port          = 4789
  # (beetwen worker nodes only)
  user_security_group_id = exoscale_security_group.my_sks_security_group.id
}

resource "exoscale_security_group_rule" "nodeport_tcp" {
  security_group_id = exoscale_security_group.my_sks_security_group.id
  description       = "Nodeport TCP services"
  type              = "INGRESS"
  protocol          = "TCP"
  start_port        = 30000
  end_port          = 32767
  # (public)
  cidr = "0.0.0.0/0"
}

resource "exoscale_security_group_rule" "nodeport_udp" {
  security_group_id = exoscale_security_group.my_sks_security_group.id
  description       = "Nodeport UDP services"
  type              = "INGRESS"
  protocol          = "UDP"
  start_port        = 30000
  end_port          = 32767
  # (public)
  cidr = "0.0.0.0/0"
}

# (worker nodes)
resource "exoscale_sks_nodepool" "my_sks_nodepool" {
  zone       = local.my_zone
  cluster_id = exoscale_sks_cluster.my_sks_cluster.id
  name = "YOUR-NODEPOOL-NAME"
  private_network_ids = [exoscale_private_network.private_network.id]

  instance_type = "standard.large"
  size          = 2

  anti_affinity_group_ids = [
    exoscale_anti_affinity_group.my_sks_anti_affinity_group.id,
  ]
  security_group_ids = [
    data.exoscale_security_group.default.id,
    resource.exoscale_security_group.my_sks_security_group.id,
  ]
}

# (administration credentials)
resource "exoscale_sks_kubeconfig" "my_sks_kubeconfig" {
  zone       = local.my_zone
  cluster_id = exoscale_sks_cluster.my_sks_cluster.id
  user   = "my-admin"
  groups = ["system:masters"]

  ttl_seconds           = 3600
  early_renewal_seconds = 300
}

resource "local_sensitive_file" "my_sks_kubeconfig_file" {
  filename        = "kubeconfig"
  content         = exoscale_sks_kubeconfig.my_sks_kubeconfig.kubeconfig
  file_permission = "0600"
}

# Outputs
output "my_sks_cluster_endpoint" {
  value = exoscale_sks_cluster.my_sks_cluster.endpoint
}

output "my_sks_kubeconfig" {
  value = local_sensitive_file.my_sks_kubeconfig_file.filename
}

output "my_sks_connection" {
  value = format(
    "export KUBECONFIG=%s; kubectl cluster-info; kubectl get pods -A",
    local_sensitive_file.my_sks_kubeconfig_file.filename,
  )
}
Then, we add the providers aspects.
terraform {
  required_providers {
    exoscale = {
      source = "exoscale/exoscale"
    }
  }
  backend "s3" {
    sts_endpoint = "https://.exo.io"
    bucket   = "bucket-tfstates"
    key      = "mykey.tfstate"
    region   = "YOURZONE"
    endpoint = "https://YOURZONE.exo.io"
    # Disable AWS-specific features
    skip_credentials_validation = true
    skip_region_validation      = true
  }
}

provider "exoscale" {
  key    = var.exoscale_api_key
  secret = var.exoscale_api_secret
}
Now, we need to init / plan our terraform config.
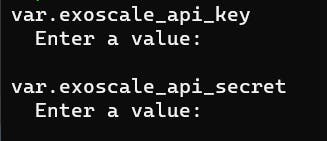
The only variables we need are the API key and secret to access the Exoscale resources.
You can find the documentation related to those S3 API keys in the exoscale documentation.
https://community.exoscale.com/documentation/sks/certificates-and-keys/#ccm-api-key
When you're okay with the new additions / changes on your infra, let's run the resource's creations
terraform apply
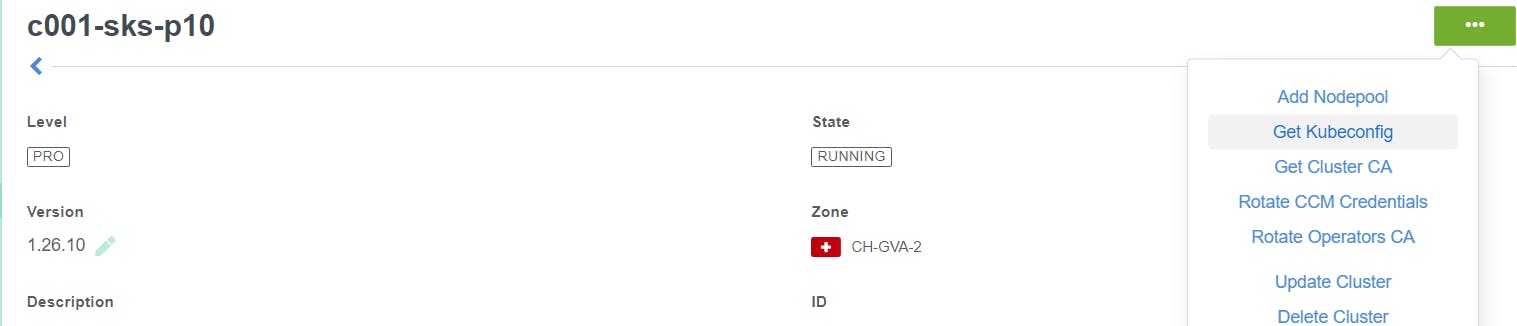
You'll have to wait something like 5 minutes to let Exoscale create and run everything. Once our cluster's alive, we'll get the Kubeconfig file and use the Kubernetes tool to install what we need.
Longhorn
Longhorn is Open-Source Software that you can install inside your SKS cluster. When creating Kubernetes Volumes, you can choose Longhorn (via a storageclass) as backend. It automatically discovers the disks of all nodes and will distribute and replicate your volume across them. Additionally, it supports snapshots, backups to S3 compatible Object Storage like Exoscale SOS, and disaster recovery across clusters. (source: exoscale)
The installation of Longhorn is quite fast :
First, we need to download the Longhorn deployment file and eventually change some values, for example "numberOfReplicas" in the configmap.
wget https://raw.githubusercontent.com/longhorn/longhorn/master/deploy/longhorn.yaml
The next step is to create a secret with the S3 key and secret.
kubectl create secret generic longhorn-s3 --from-literal=AWS_ACCESS_KEY_ID=******* --from-literal=AWS_SECRET_ACCESS_KEY=********* -n longhorn-system
Then, we'll apply this file and forward the port to make the console locally available.
kubectl apply -f longhorn.yaml
kubectl port-forward deployment/longhorn-ui 7000:8000 -n longhorn-system http://127.0.0.1:7000/#/
You can now access the Longhorn dashboard and configuration
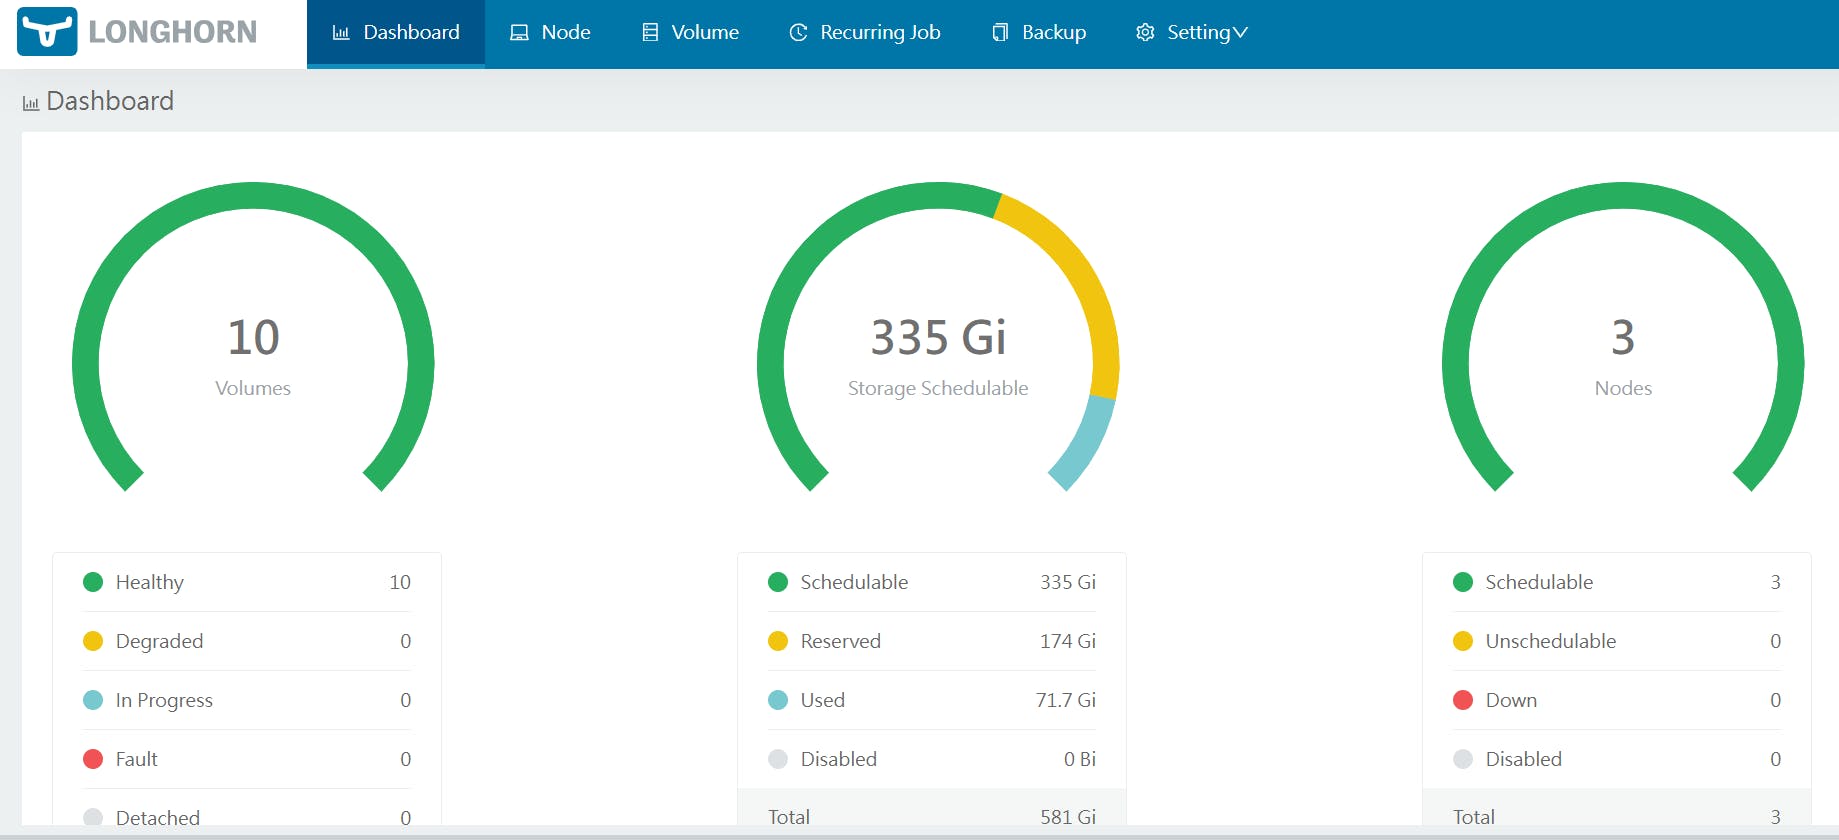
In the Settings > General tab, we can change the volume configs (minimal available storage, replica counts, etc...) but also the backup aspects (backup target, backup creds...) if you would like to backup your volumes only. For a more complete backup, let's dive into the next part!
Kasten
Kasten K10 is an advanced backup solution designed specifically for Kubernetes environments. It simplifies the process of backing up and restoring Kubernetes applications and their associated volumes. Kasten becomes a must-have in situations such as disaster recovery and application migration by automatically identifying and managing installed applications within the Kubernetes cluster. So let's add it to our cluster!
First, let's create a namespace on our K8s cluster.
kubectl create namespace kasten-io
We'll next run the K10_primer.sh script, to check if our cluster meets the Kaster requirements (available StorageCLasses, basic validation of the CSI application if exists).
curl -s https://docs.kasten.io/tools/k10_primer.sh | bash
Then, let's use Helm to install our K10 solution
helm install k10 kasten/k10 --namespace=kasten-io
--set eula.accept=true
--set eula.company=YOURCOMPANYNAME
--set eula.email=anybody@YOURCOMPANYNAME.com
--set externalGateway.create=true
--set auth.tokenAuth.enabled=true
--set global.persistence.size=20Gi
--set grafana."grafana.ini".smtp.enabled=true
--set grafana."grafana.ini".smtp.host=email.yourcompany.com:25
--set grafana."grafana.ini".smtp.skip_verify=true
--set grafana."grafana.ini".smtp.from_address=no-reply@yourcompany.com
--set grafana."grafana.ini".smtp.from_name=kasten-alerting
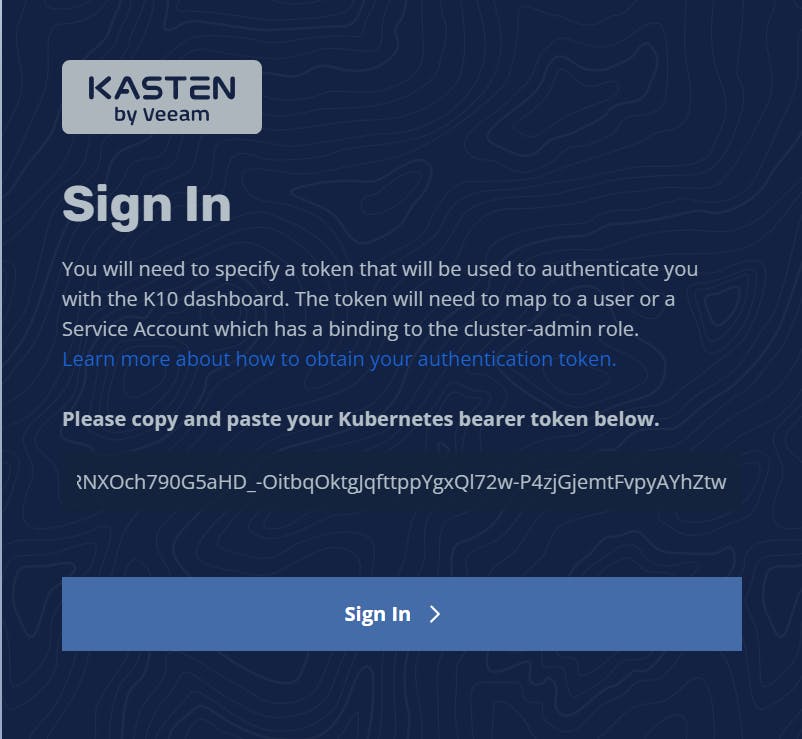
Now, we'll access the Kasten web console by forwarding the port and creating a token for the access (will be asked on the login page).
kubectl -n kasten-io create token k10-k10 --duration=2h
kubectl --namespace kasten-io port-forward service/gateway 8080:8000 http://127.0.0.1:8080/k10/#/
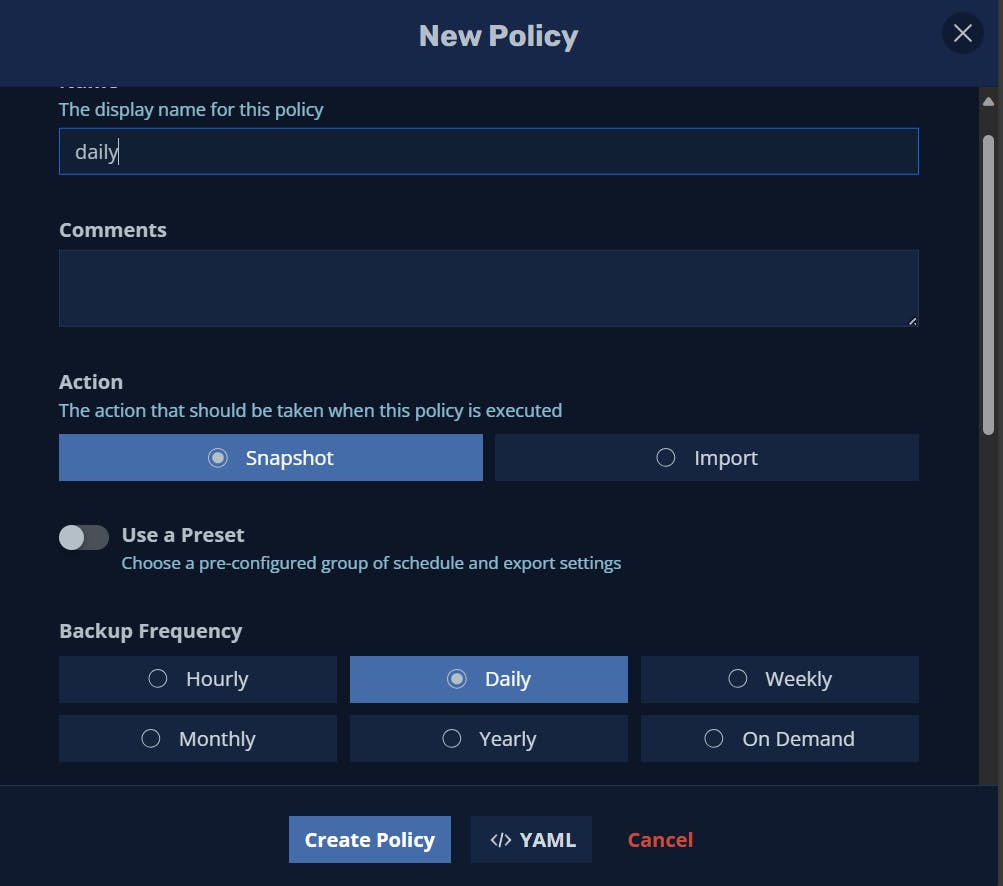
Next, we need to use this web interface to create a Kasten backup profile:

We're now ready to install apps on our SKS cluster like on any other K8s cluster.
Backup configuration
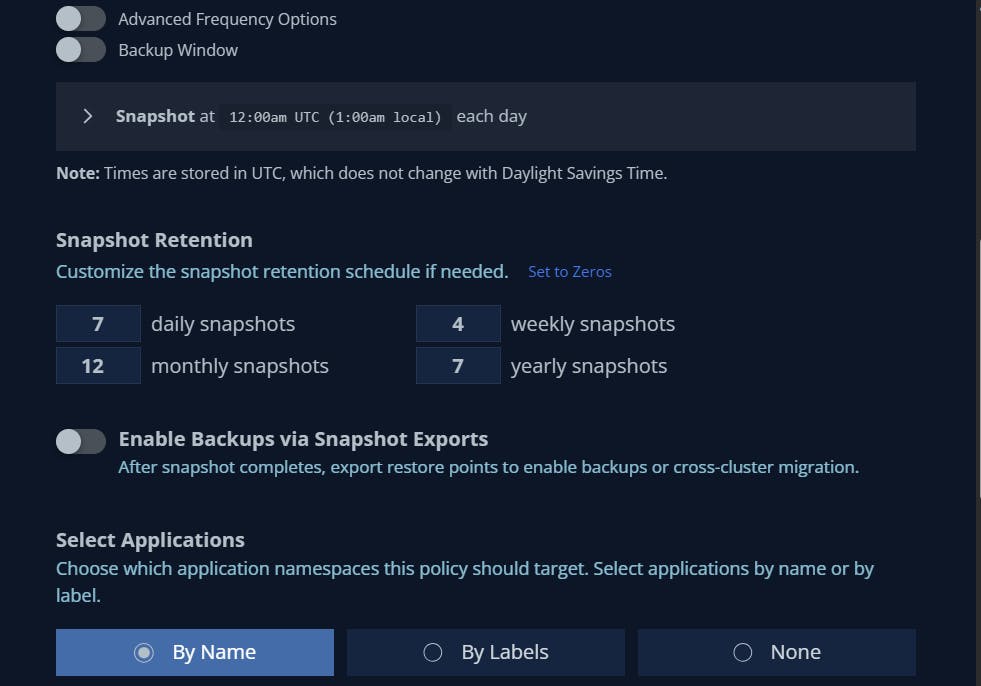
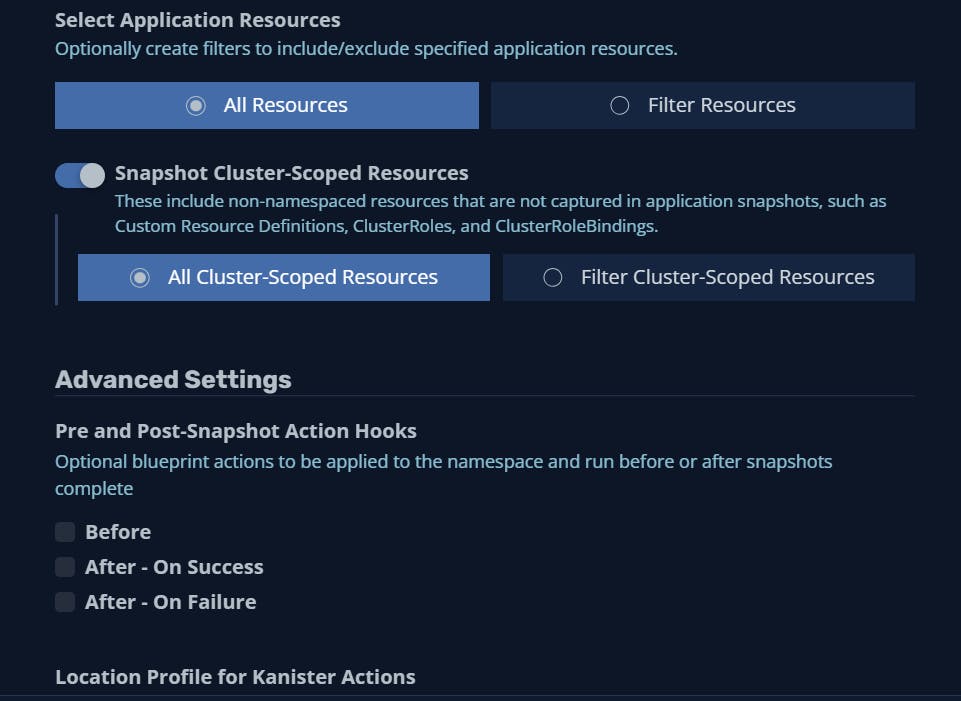
We now need to create a backup policy to tell K10 what / when / where to backup our resources.
When you've selected your profileYou're now able to install an SKS cluster with terraform, create storage with Longhorn and backup resources with Kasten !